本篇记录了我为 APISIX Dashboard 同步 APISIX 2.13.0 版本所需要做的一些工作内容和步骤,记录下了,既方便自己以后复习,也希望可以帮助到之后的新人~。
一 导出目标 schema.json
由于 APISIX 默认未开启所有的插件,而且开启所有插件需要添加一些额外的配置,所以我们选用 docker 来运行 APISIX,并且导出 schema.json。
apisix-docker 仓库原地址:https://github.com/apache/apisix-docker
- 将仓库代码克隆到之后,切换到固定 tag。
1
| git checkout ${tag_name}
|
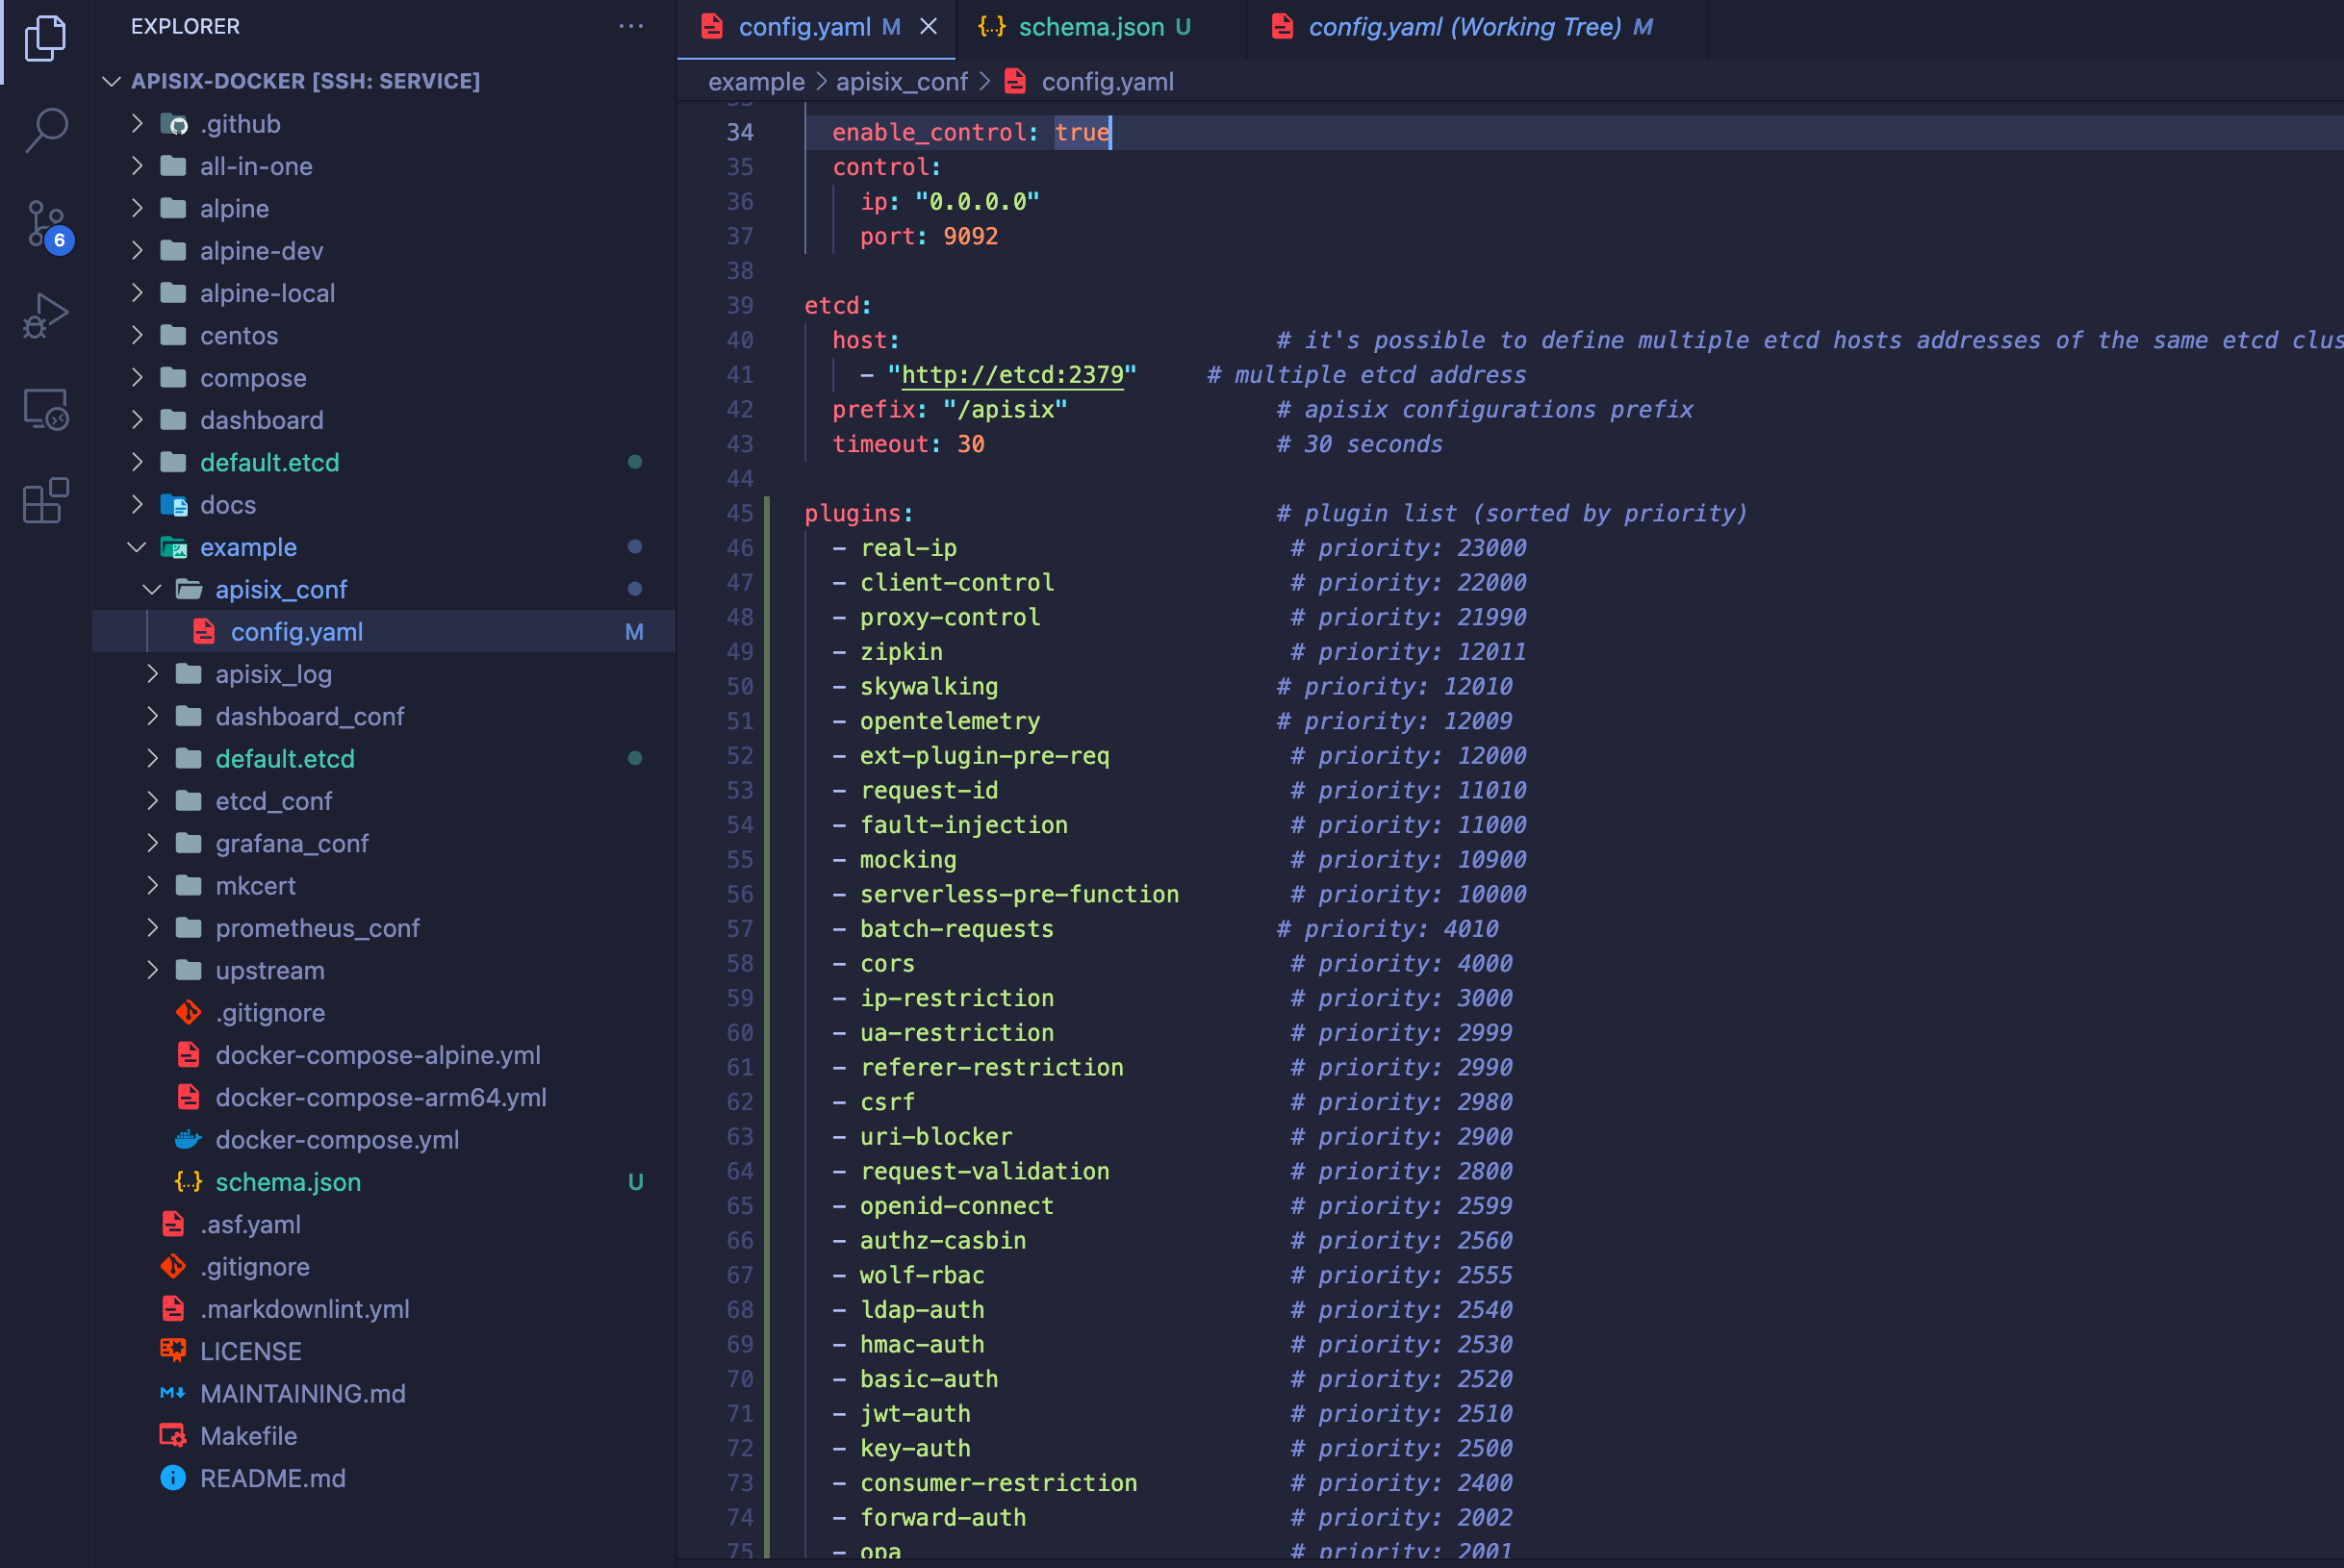
- 找到
example/apisix_conf 文件夹下的 config.yaml 文件。将 APISIX 主仓库中的 config-default.yaml 中的插件列表粘贴过来。注意需要将注释掉的插件取消注释。
- 使用 docker 启动 APISIX
1
2
| cd example
docker-compose -p docker-apisix up -d
|
- 导出 schema.json
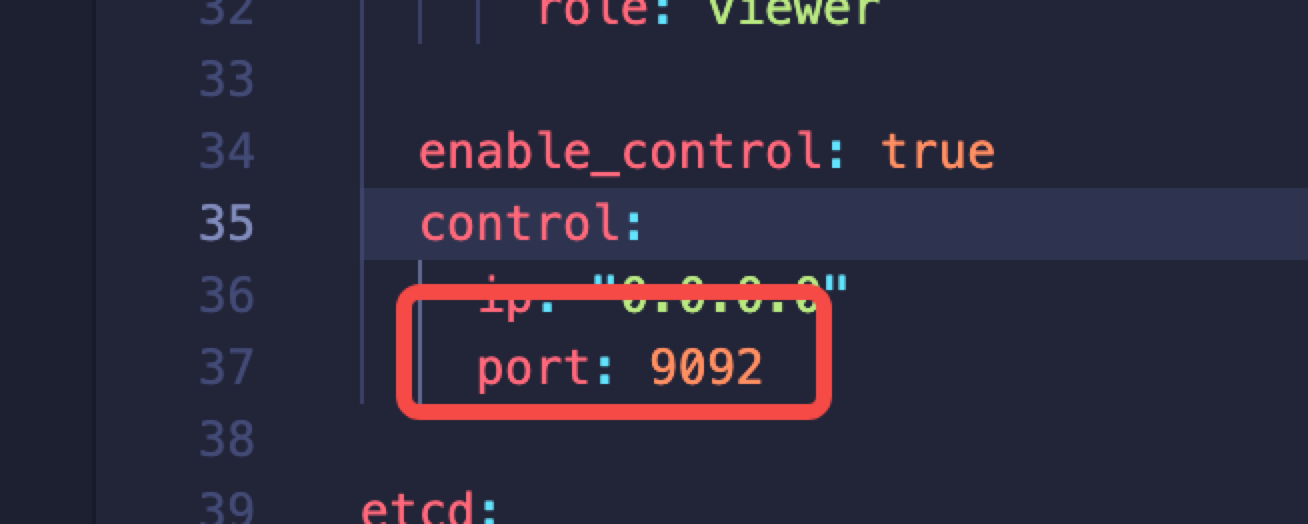
首先确认 example/apisix_conf 文件夹中的 config.yaml 的 control API 的端口。
然后运行命令导出 schema.json
1
2
|
curl 127.0.0.1:9092/v1/schema > schema.json
|
- 导出成功。
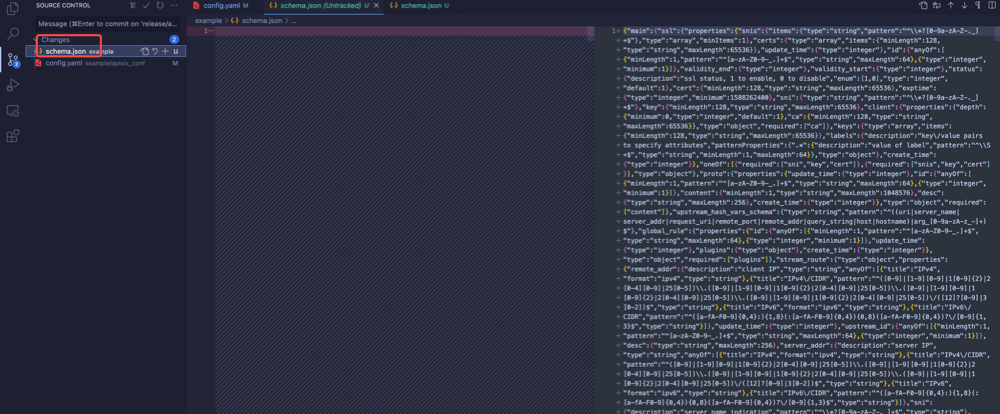
- 复制导出的 schema.json 文件准备为它排序。
二 对 schema.json 进行排序和格式化
- 打开 https://www.bejson.com/json/jsonsort/ 将已经导出的 schema.json 内容复制到左侧,进行升序排列。
- 确认右侧的树状图是正确的。

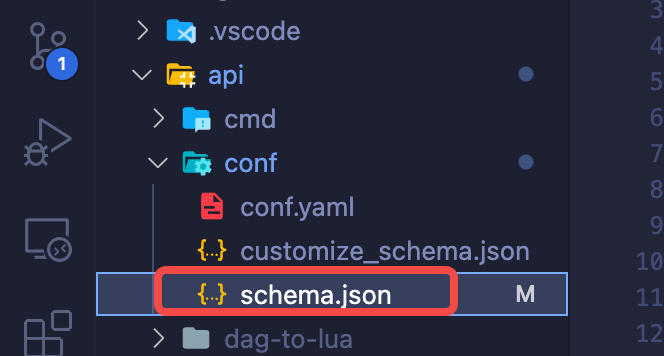
- 复制右侧代码,替换 apisix-dashboard 仓库中的 schema.json 内容,并且格式化。
三 为 apisix-dashboard 提交 PR 更新 schema.json
- 观察 diff 文件,判断是否有需要更新的插件 UI,如果有核心资源更新字段,需要更新UI;如果有插件更新,需要更新插件表单)。
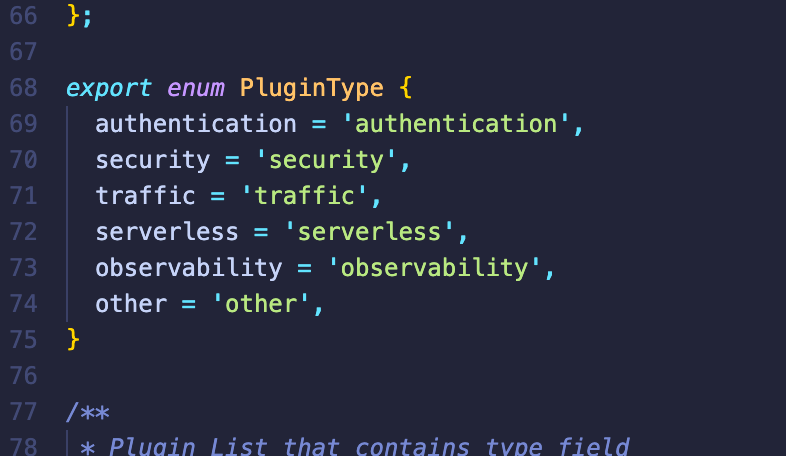
- 更新新增插件类型。
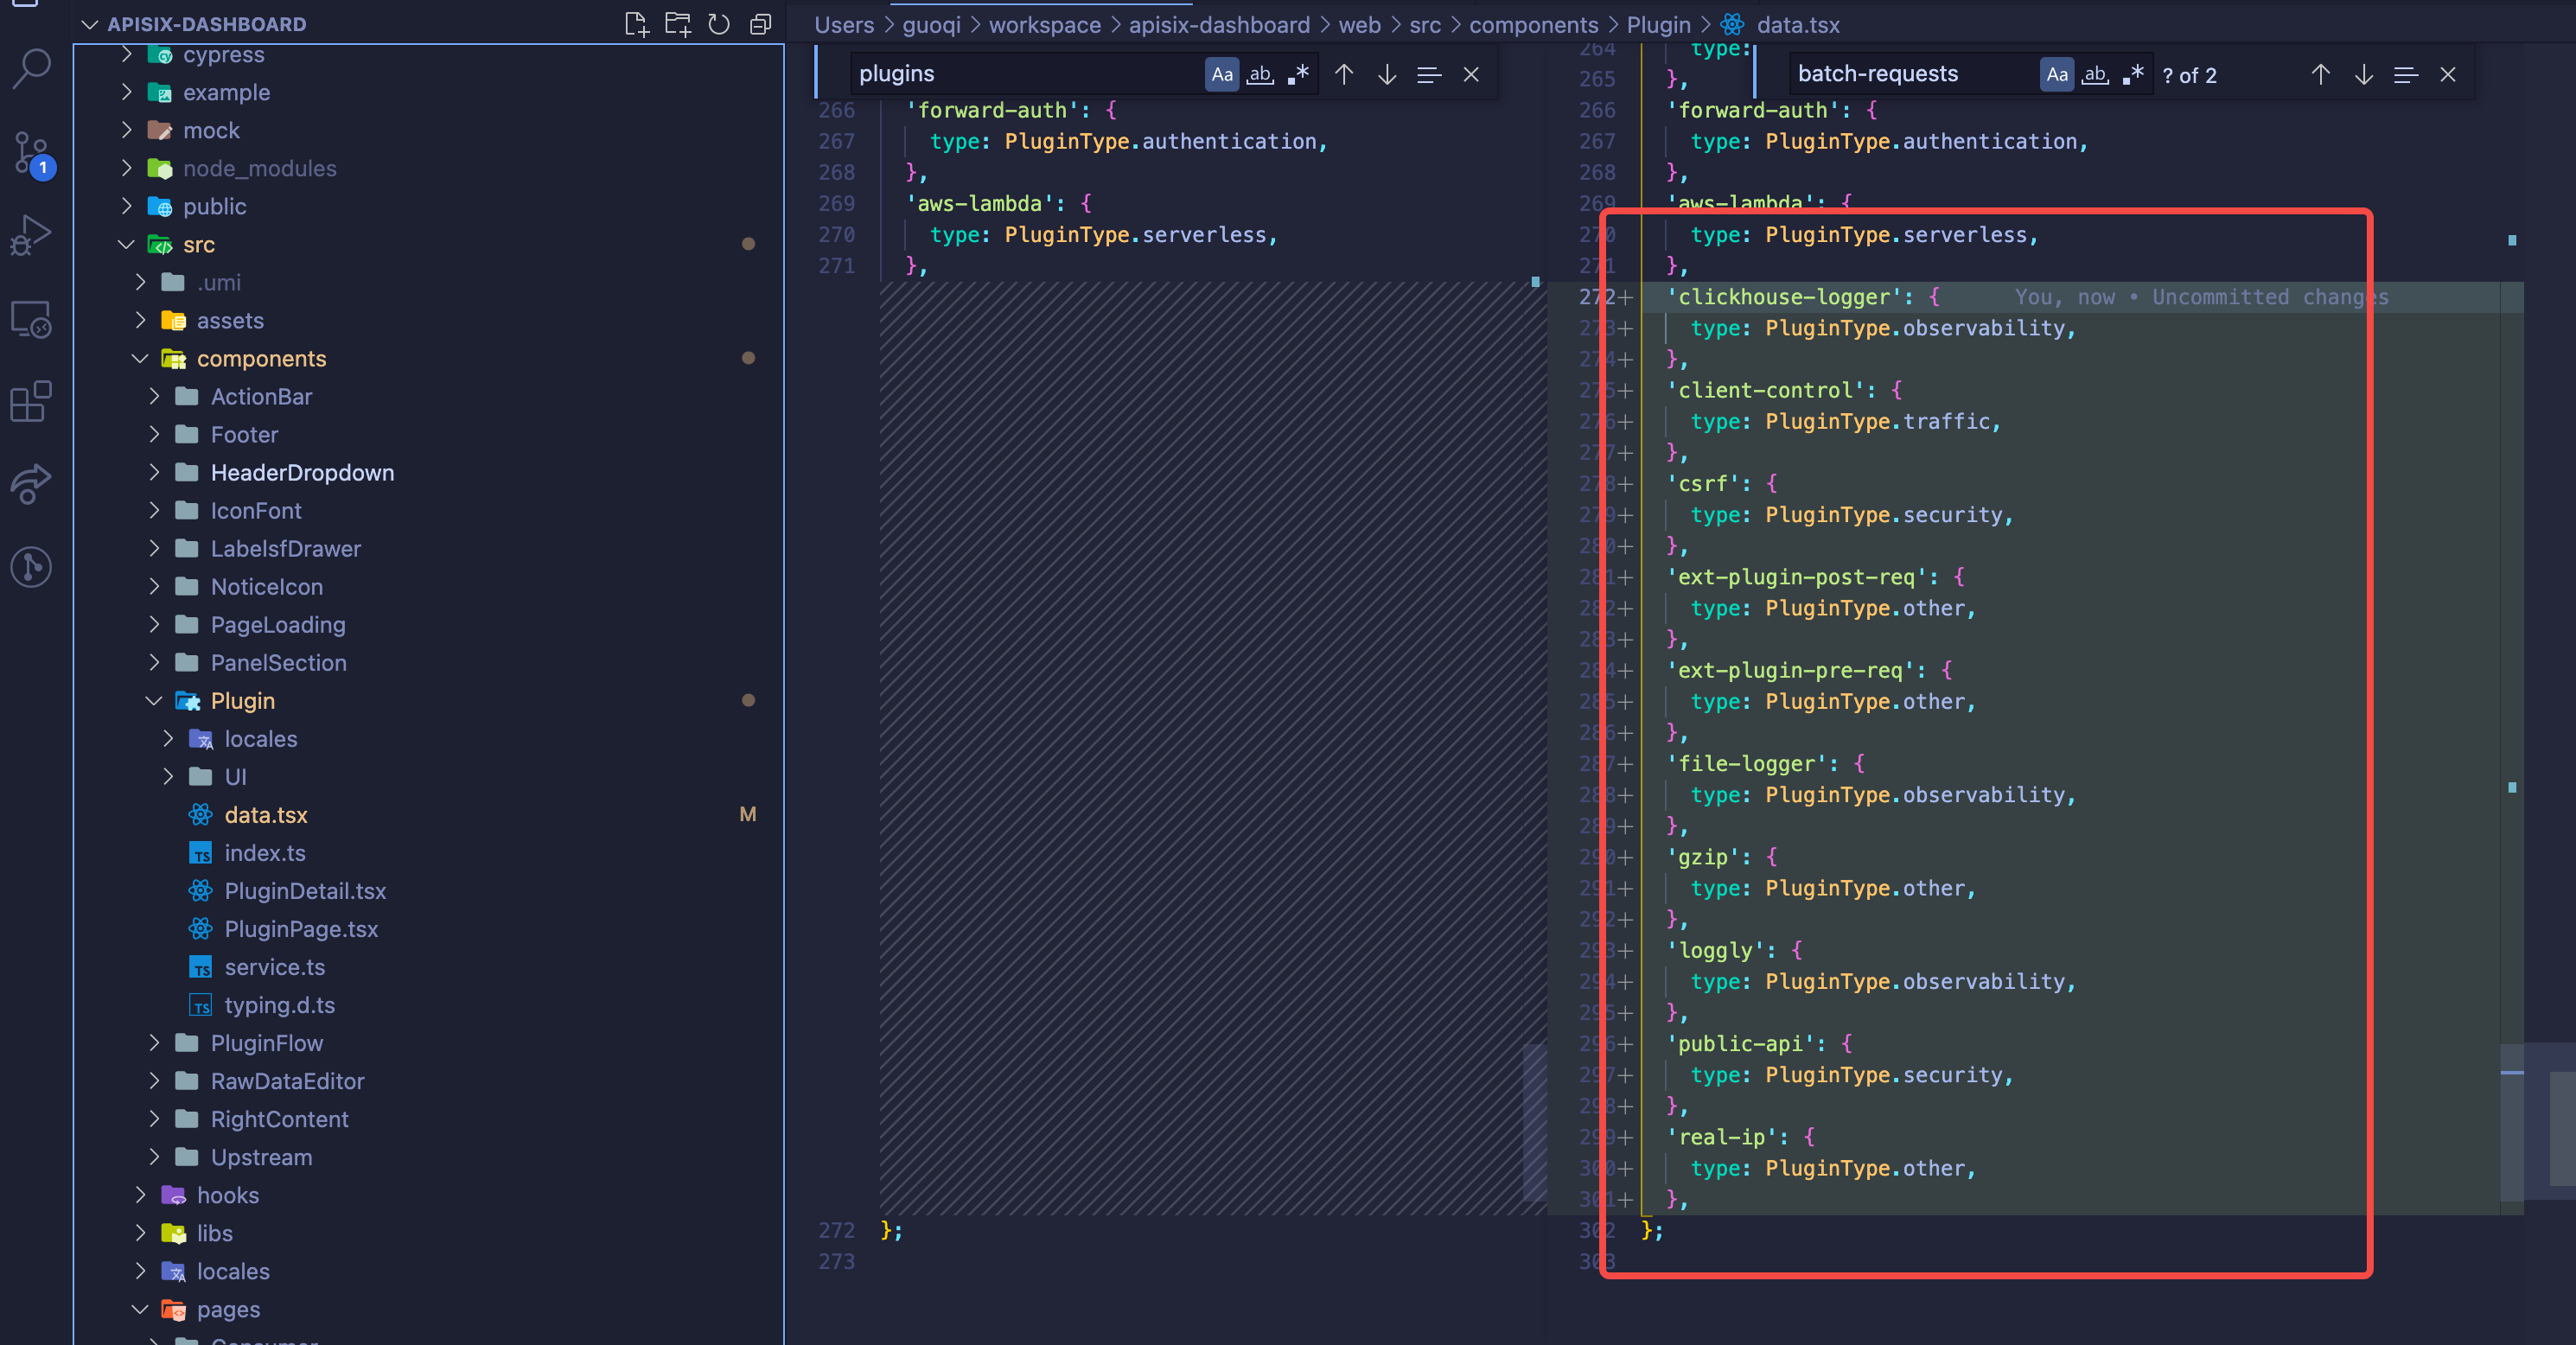
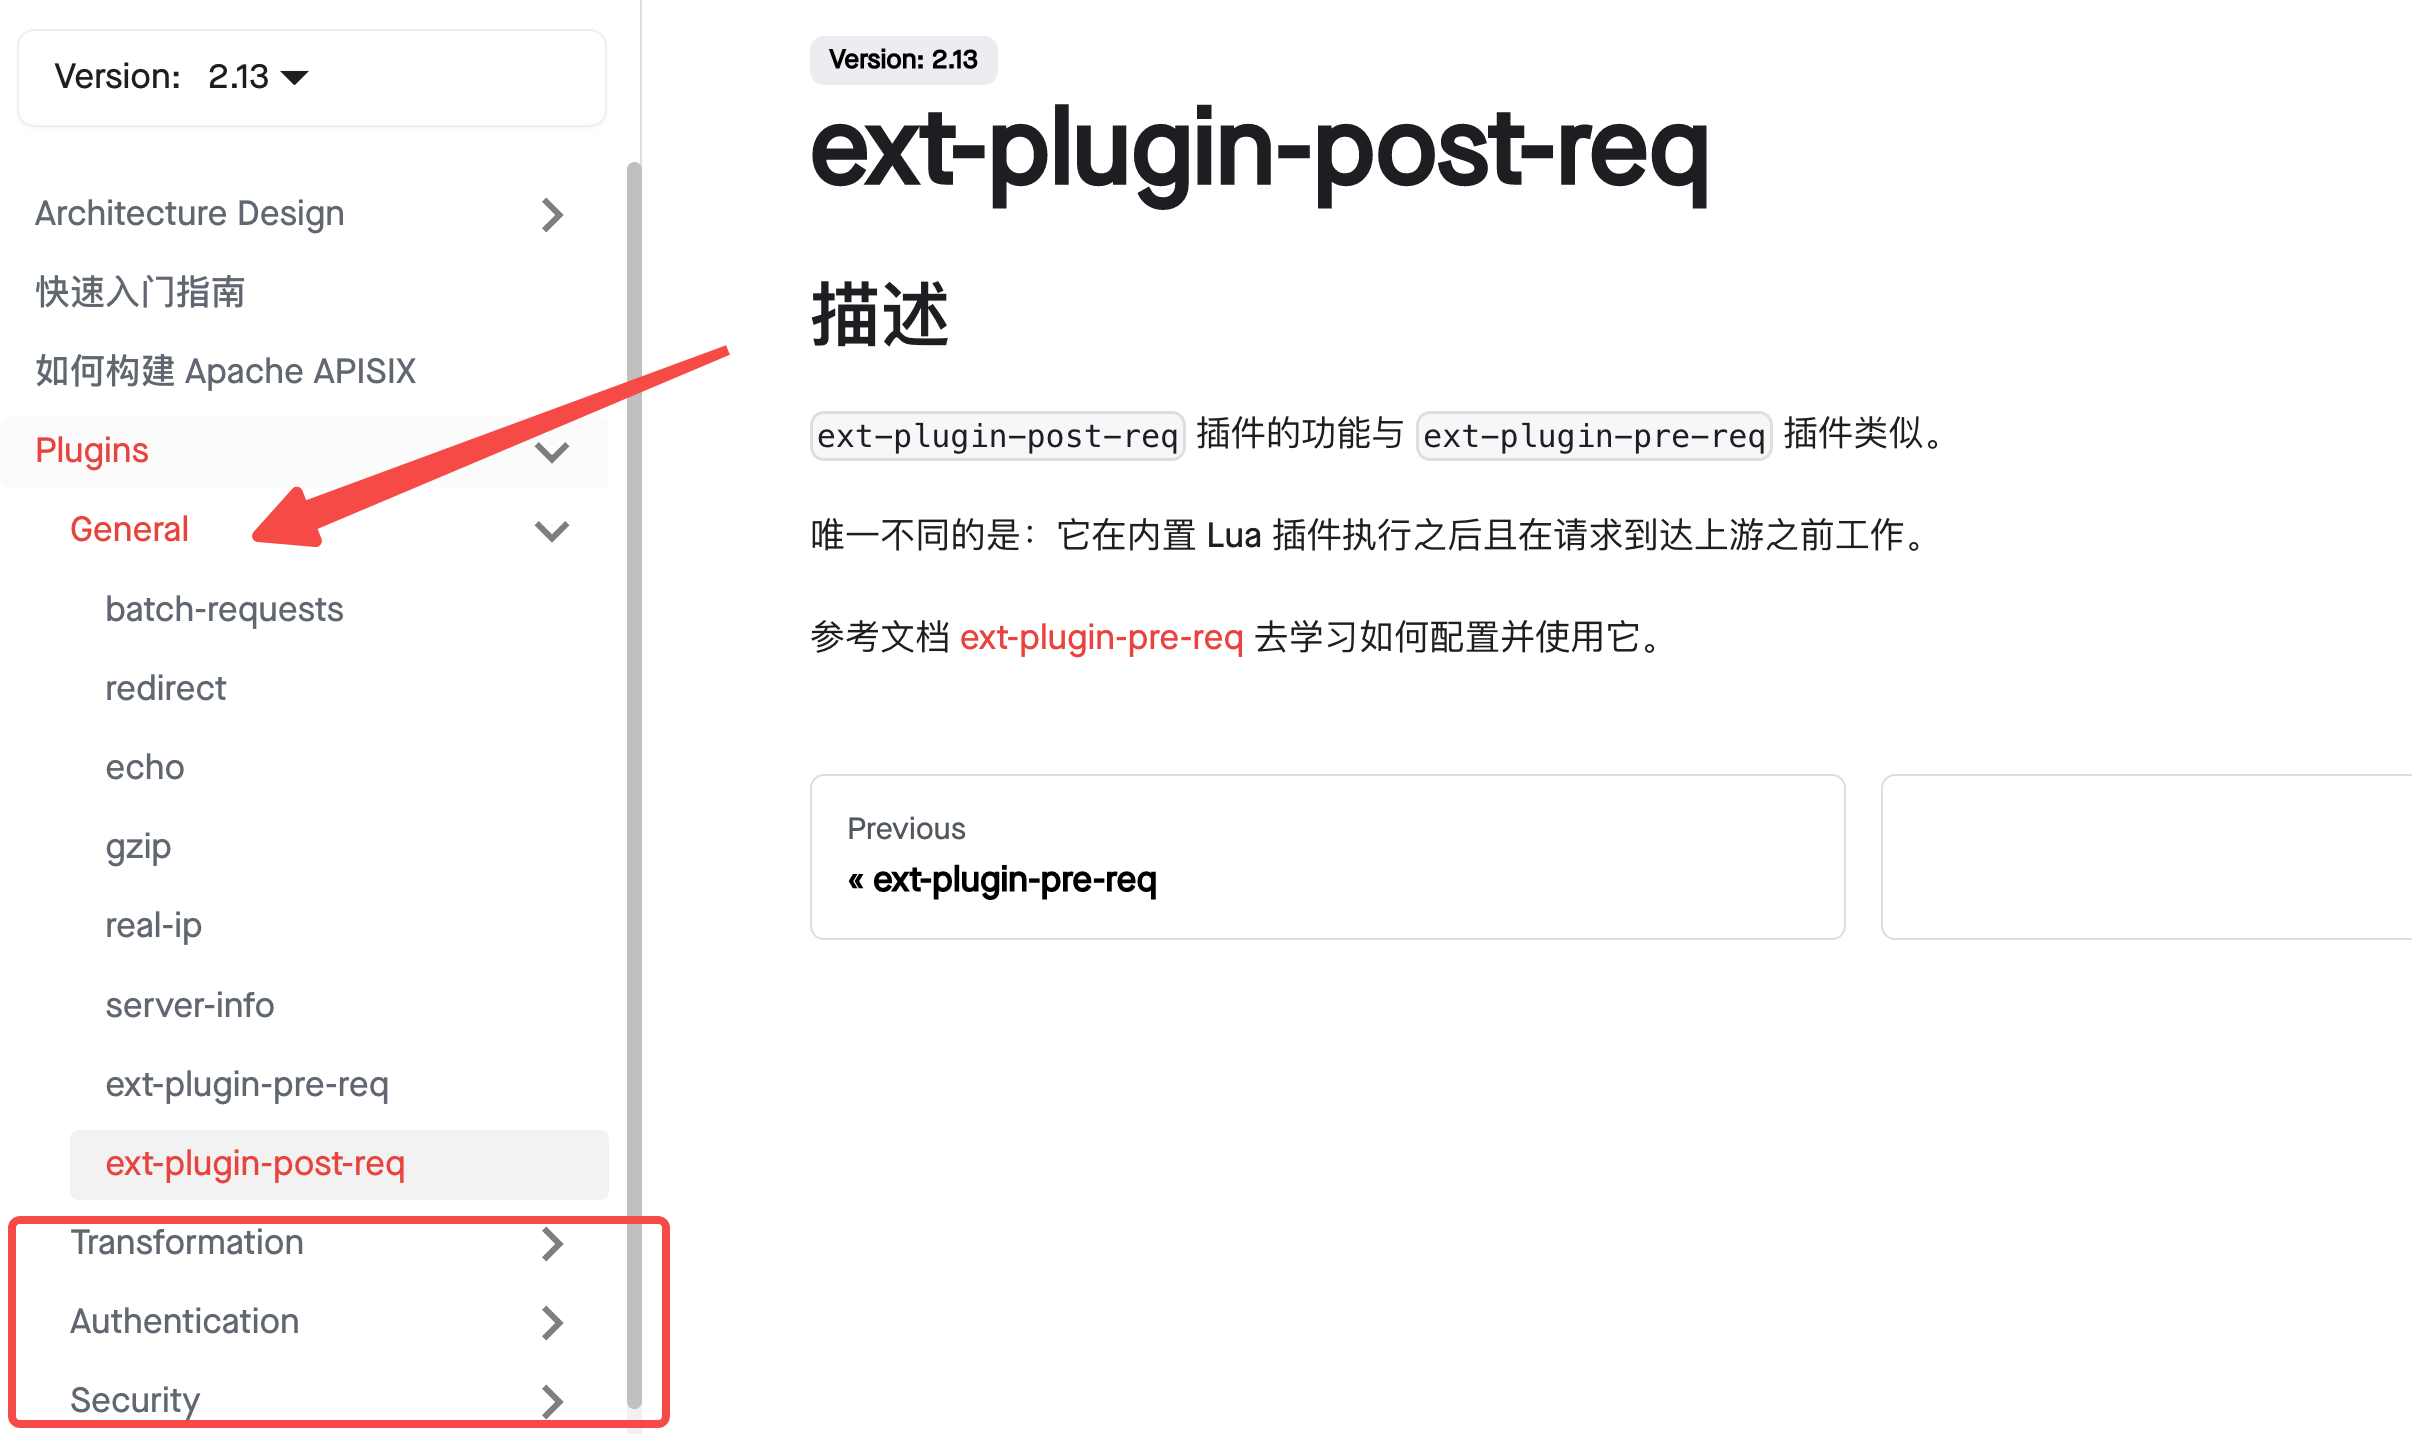
- 在插件市场中的其他类型中,检查新增的插件,并查看文档,更新相应的类型。
- 如果已有类型中不存在,则统一更改为其他类型: ‘other’
- 提交 PR 查看 GitHub Action 检查
四 根据 CI 修复对应的测试代码
- 修改前端测试 CI
- 修改后端测试 CI
